Creating Images with Microsoft Paint
When you insert an image, it stretches or shrinks to match the size of the field you have drawn on the Display. This results in some degree of distortion. To avoid this, create images that match the required size.
|
Note ♦
|
An imported image cannot exceed the size of the controller's display screen. For example, the V230's Display screen is 128x64 pixels, therefore an image of 100x100 pixels cannot be used unless it is resized in a third-party utility such as Paint.
|
After reading the information below, view Edit Image Collections with Paint Step 1.exe movie, located on the VisiLogic setup CD.
-
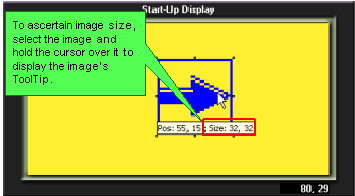
Determine the required image size in pixels. You can do this by inserting any image, resizing it to meet your requirements, then holding the cursor above it to display the image's ToolTip.
-
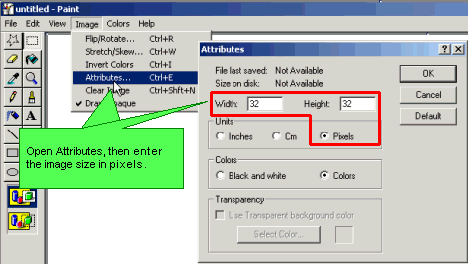
Open Microsoft Paint, then set the image attributes to match your requirements; the drawing area changes accordingly.
-
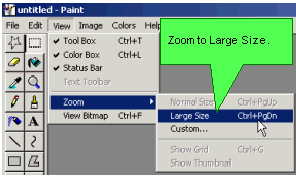
From the View menu, open Zoom, then select Large Size,
or
Use Paint's Magnifying icon to enlarge the view.
-
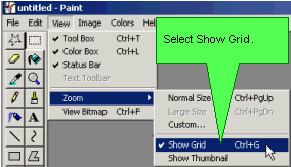
From the View menu, open Zoom, then select Show Grid.
-
Draw your image on the grid.
-
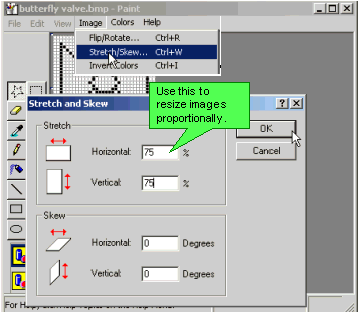
If images distort when they are resized, you can use Paint's pencil tool to change the color of individual pixels in the bitmap. Use Skew to proportionally resize images.
-
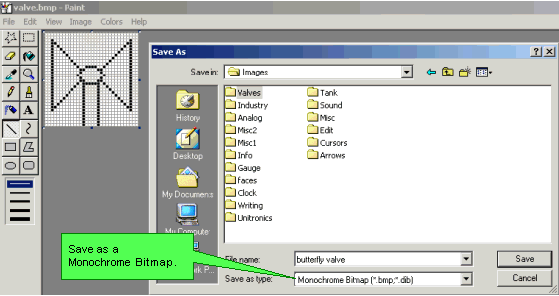
Save the image into a folder in your Image Library.
-
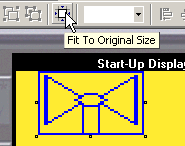
After you insert the image, use Fit to Original Size to resize the image to match its actual dimensions.
